
1. Duende IdentityServer
2. ASP.NET Core 8 Web API with SQL Server db
3. .NET 8 MAUI Blazor Hybrid Client
You can find the complete project in Git repository
This article is a third part of the "Securing .Net REST API resources with Duende IdentityServer and MAUI client" articles. Here we are exploring how to secure resources from the protected API with Duende IdentityServer by implementing OpenID Connect and OAuth2 authentication protocols, and a MAUI client application.
In this article we are going to create .NET 8 MAUI Blazor Hybrid application and test it on Android device. MAUI mobile app will be autenticated and authorized by Duende IdentityServer and display data from protected LearningAPI service we have created in the second article.
We will create new .NET MAUI Blazor Hybrid App, which is used to create mobile, web and desktop applications with UI made of Blazor HTML elements, which makes it easy to write UI components once and share them across aplications on different platforms.
Blazor components are rendered natively in browser on mobile and desktop applications by BlazorWebView control.
We will create new .NET MAUI Blazor Hybrid App.
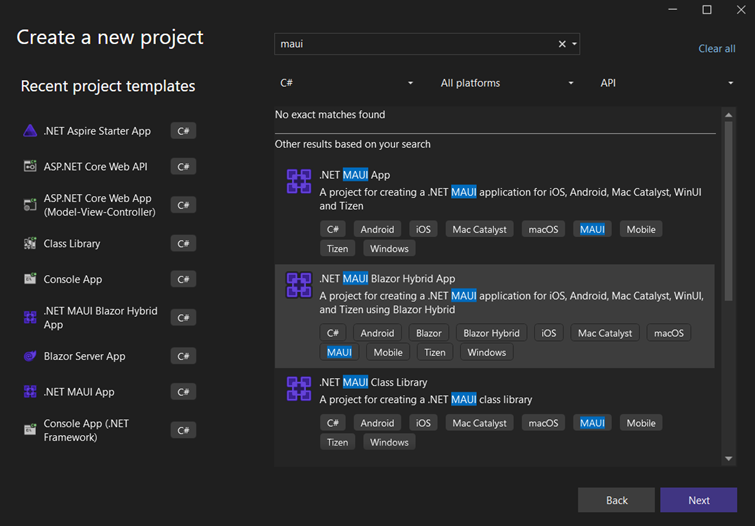
Create .NET MAUI Blazor Hybrid App project
We will add Nuget packages for authentication and authorization
•Auth0.OidcClient.MAUI
•Microsoft.AspNetCore.Components.Authorization
•Newtonsoft.Json
•Microsoft.Extensions.Http
Now open _Imports.razor file and add references to packages
@using Microsoft.AspNetCore.Components.Authorization
@using Microsoft.AspNetCore.Authorization
Create new static class AuthorizationData.cs in the root folder, we will use AccessToken property to store the token value created by Duende IdentityServer after successfull authentication. Later we should consider storing token and other sensitive data in the Secure Storage that stores encrypted data in key/value pairs, now we will just focus on authentication and displaying protected data from API.
Add this code to AuthorizationData.cs
public static class AuthorizationData
{
  public static string AccessToken { get; set; }
}
Now we will create Auth0Client.cs class in the root folder and define Login and Logout methods. We will define OidcClient parameters which should match values that we have created in our LearningAPI and Duende IdentityServer configuration. Add this code to the Auth0Client class
using IdentityModel.Client;
using IdentityModel.OidcClient.Browser;
using IdentityModel.OidcClient;

namespace MauiBlazorDuendeAuth
{
  public class Auth0Client
  {
    private readonly OidcClient oidcClient;

    public Auth0Client()
    {
      oidcClient = new OidcClient(new OidcClientOptions
      {
        Authority = $"https://localhost:5001",
        ClientId = "learningMaui",
        Scope = "openid profile learningAPI",
        RedirectUri = "myapp://",
        Browser = new WebBrowserAuthenticator(),
        ClientSecret = "6429A787-B2C0-4657-DS95-82E8CA06G1G2"
      });
    }

    public IdentityModel.OidcClient.Browser.IBrowser Browser
    {
      get
      {
        return oidcClient.Options.Browser;
      }
      set
      {
        oidcClient.Options.Browser = value;
      }
    }

    public async Task LoginAsync()
    {
      try
      {
        return await oidcClient.LoginAsync();
      }
      catch (Exception ex)
      {
        return new LoginResult
        {
          Error = String.Format($"Error in authentication, ex : {ex.Message}")
        };
      }
    }

    public async Task LogoutAsync()
    {
      var logoutParameters = new Dictionary
      {
        {"returnUrl", oidcClient.Options.RedirectUri }
      };

      var logoutRequest = new LogoutRequest();
      var endSessionUrl = new RequestUrl($"{oidcClient.Options.Authority}/Identity/Account/Logout")
        .Create(new Parameters(logoutParameters));
      var browserOptions = new BrowserOptions(endSessionUrl, oidcClient.Options.RedirectUri)
      {
        Timeout = TimeSpan.FromSeconds(logoutRequest.BrowserTimeout),
        DisplayMode = logoutRequest.BrowserDisplayMode
      };

      var browserResult = await oidcClient.Options.Browser.InvokeAsync(browserOptions);

      return browserResult;
    }
  }
}
Now we will create custom authentication state provider. AuthenticationStateProvider is an abstraction that is used to get information about authentication state and updates when it changes. Create new MauiAuthenticationStateProvider.cs class in root folder. Here the LogIn and LogOut methods are going to call methods from Auth0Client.cs. The login process starts with LogInAsync method, user is notified about the change in authentication state while oidcClient object authenticates user, returns ClaimsPrincipal object and stores token value to AuthorizationData.AccessToken that will be sent as Bearer token header to authorize calls to our protected LearningAPI. The code in MauiAuthenticationStateProvider.cs class looks like this
using Microsoft.AspNetCore.Components.Authorization;
using System.Security.Claims;

namespace MauiBlazorDuendeAuth
{
  public class MauiAuthenticationStateProvider : AuthenticationStateProvider
  {
   private ClaimsPrincipal currentUser = new ClaimsPrincipal(new ClaimsIdentity());
   private readonly Auth0Client auth0Client;

   public MauiAuthenticationStateProvider(Auth0Client client)
   {
     auth0Client = client;
   }

   public override Task GetAuthenticationStateAsync() =>
     Task.FromResult(new AuthenticationState(currentUser));

   public Task LogInAsync()
   {
     var loginTask = LogInAsyncCore();
     NotifyAuthenticationStateChanged(loginTask);

     return loginTask;

     async Task LogInAsyncCore()
     {
      var user = new ClaimsPrincipal(new ClaimsIdentity());
      var loginResult = await auth0Client.LoginAsync();

      if (!loginResult.IsError)
      {
        user = loginResult.User;

        AuthorizationData.AccessToken = loginResult.AccessToken;
      }
      currentUser = user;

      return new AuthenticationState(currentUser);
     }
   }

   public async void LogOut()
   {
     await auth0Client.LogoutAsync();
     currentUser = new ClaimsPrincipal(new ClaimsIdentity());
     NotifyAuthenticationStateChanged(
       Task.FromResult(new AuthenticationState(currentUser)));
   }
  }
}
.NET MAUI app uses WebAuthenticator for browser based authentication flow. As mobile applications are not a safe place to store sensitive information the best practice is to use the WebAuthenticator as a middle layer between mobile app and IdentityServer.

WebAuthenticator Source
WebAuthenticator launches the authentication URI in the browser and waits for the callback. In the root folder Create WebBrowserAuthenticator.cs with this code
using IdentityModel.Client;
using IdentityModel.OidcClient.Browser;

namespace MauiBlazorDuendeAuth
{
  public class WebBrowserAuthenticator : IdentityModel.OidcClient.Browser.IBrowser
  {
    public async Task InvokeAsync(BrowserOptions options, CancellationToken cancellationToken = default)
    {
      try
      {
        WebAuthenticatorResult result = await WebAuthenticator.Default.AuthenticateAsync(
          new Uri(options.StartUrl),
          new Uri(options.EndUrl));

        var url = new RequestUrl(options.EndUrl)
          .Create(new Parameters(result.Properties));

        return new BrowserResult
        {
          Response = url,
          ResultType = BrowserResultType.Success
        };
      }
      catch (TaskCanceledException)
      {
        return new BrowserResult
        {
          ResultType = BrowserResultType.UserCancel,
          ErrorDescription = "Login canceled by the user."
        };
      }
    }
  }
}
Now we need to create our UI.
Open NavMenu.razor component and add Log in and Log out links in Authorize view that are using MauiAuthenticationStateProvider and display Login or Logout link based on the current state.
Create the component Main.razor in Components folder and add this code to it
The Main.razor component in case you are not authorized will display text „You're not authorized to view this page.“. If you are authorized it will render MainLayout.razor component that holds navigation menu and the body. Open the MainPage.xaml and make Main.razor as your RootComponent component.
Home.razor component is our landing page that is updated by AuthenticationStateProvider. If we are authorized it will display our username and "You are successfully authorized!". Open the Home.razor in the Components\Pages folder and add this code
Now we will prepare our application for calling WeatherForecast protected API in LearningAPI service. Add class WeatherForecast, create new folder "Data" and create new class WeatherForecast.cs, add these properties
namespace MauiBlazorDuendeAuth.Data
{
  public class WeatherForecast
  {
    public DateTime Date { get; set; }
    public int TemperatureC { get; set; }
    public int TemperatureF => 32 + (int)(TemperatureC / 0.5556);
    public string Summary { get; set; }
  }
}
Create new folder Services and add new WeatherForecastService.cs class that contains GetForecastAsync method to call our protected API and get weather data if we are properly autorized.
using MauiBlazorDuendeAuth.Data;
using Newtonsoft.Json;
using System.Net;

namespace MauiBlazorDuendeAuth.Services
{
  public class WeatherForecastService
  {
    private HttpClient _httpClient;

    public WeatherForecastService(HttpClient httpClient)
    {
      _httpClient = httpClient;
    }

    public class ReturnModel
    {
      public HttpStatusCode HttpStatusCode { get; set; }
      public List WeatherForecast { get; set; }
      public string ErrorMessage { get; set; }
    }

    public async Task GetForecastAsync()
    {
      var returnModel = new ReturnModel
      {
        WeatherForecast = new List(),
        HttpStatusCode = HttpStatusCode.OK
      };

      try
      {
        HttpResponseMessage response = await _httpClient.GetAsync("Weatherforecast");

        if (response.StatusCode != HttpStatusCode.OK)
        {
          returnModel.HttpStatusCode = response.StatusCode;
          returnModel.ErrorMessage = response.ReasonPhrase;
          return returnModel;
        }

        string content = await response.Content.ReadAsStringAsync();
        returnModel.WeatherForecast = JsonConvert.DeserializeObject>(content);
        return returnModel;

      }
      catch (Exception ex)
      {
        returnModel.HttpStatusCode = HttpStatusCode.InternalServerError;
        returnModel.ErrorMessage = String.Format($"Exception while calling protected API, ex: {ex}");
        return returnModel;
      }
    }
  }
}
We need to create TokenHandler.cs class in the root folder that will add authorization header with Bearer token to our LearningAPI reuests. Add this code to TokenHandler class
public class TokenHandler : DelegatingHandler
{
  protected override async Task SendAsync(HttpRequestMessage request, CancellationToken cancellationToken)
  {
    request.Headers.Authorization =
      new AuthenticationHeaderValue("Bearer", AuthorizationData.AccessToken);
    return await base.SendAsync(request, cancellationToken);
  }
}
Don't forget to register new services in the MauiProgram.cs. Our MauiProgram.cs will look like this:
using MauiBlazorDuendeAuth.Services;
using Microsoft.AspNetCore.Components.Authorization;
using Microsoft.Extensions.Logging;

namespace MauiBlazorDuendeAuth
{
  public static class MauiProgram
  {
    public static MauiApp CreateMauiApp()
    {
      var builder = MauiApp.CreateBuilder();
      builder
        .UseMauiApp()
        .ConfigureFonts(fonts =>
        {
         fonts.AddFont("OpenSans-Regular.ttf", "OpenSansRegular");
        });

      builder.Services.AddMauiBlazorWebView();

#if DEBUG
    builder.Services.AddBlazorWebViewDeveloperTools();
    builder.Logging.AddDebug();
#endif

      builder.Services.AddSingleton();

      builder.Services.AddSingleton(new Auth0Client());
      builder.Services.AddAuthorizationCore();
      builder.Services.AddScoped();

      //token handler
      builder.Services.AddSingleton();
      builder.Services.AddHttpClient("LearningAPI",
          client => client.BaseAddress = new Uri("https://localhost:44313")
        ).AddHttpMessageHandler();
      builder.Services.AddTransient(
        sp => sp.GetRequiredService().CreateClient("LearningAPI")
      );

      return builder.Build();
    }
  }
}
As I am testing application on my Android device I have to create WebAuthenticatorCallbackActivity.cs class in Platforms/Android folder and add the IntentFilter that handles callback URI. Add the content like this
using Android.App;
using Android.Content.PM;

namespace MauiBlazorAuth0App;

[Activity(NoHistory = true, LaunchMode = LaunchMode.SingleTop, Exported = true)]
[IntentFilter(new[] { Android.Content.Intent.ActionView },
    Categories = new[] {
      Android.Content.Intent.CategoryDefault,
      Android.Content.Intent.CategoryBrowsable
    },
    DataScheme = CALLBACK_SCHEME)]
public class WebAuthenticationCallbackActivity : Microsoft.Maui.Authentication.WebAuthenticatorCallbackActivity
{
  const string CALLBACK_SCHEME = "myapp";
}
We will change Weather.razor component and remove randomly generated weather data, instead of that we will call our protected LearningAPI to get weather data. Code should look like this
Finally we are ready to test our application. I've published Duende IdentityServer on temporary host, installed and assigned a certificate to enable HTTPS communication. When we run MAUI application we should see the first page displaying "Sorry, you're not authorized to view this page" text because we are not authorized.
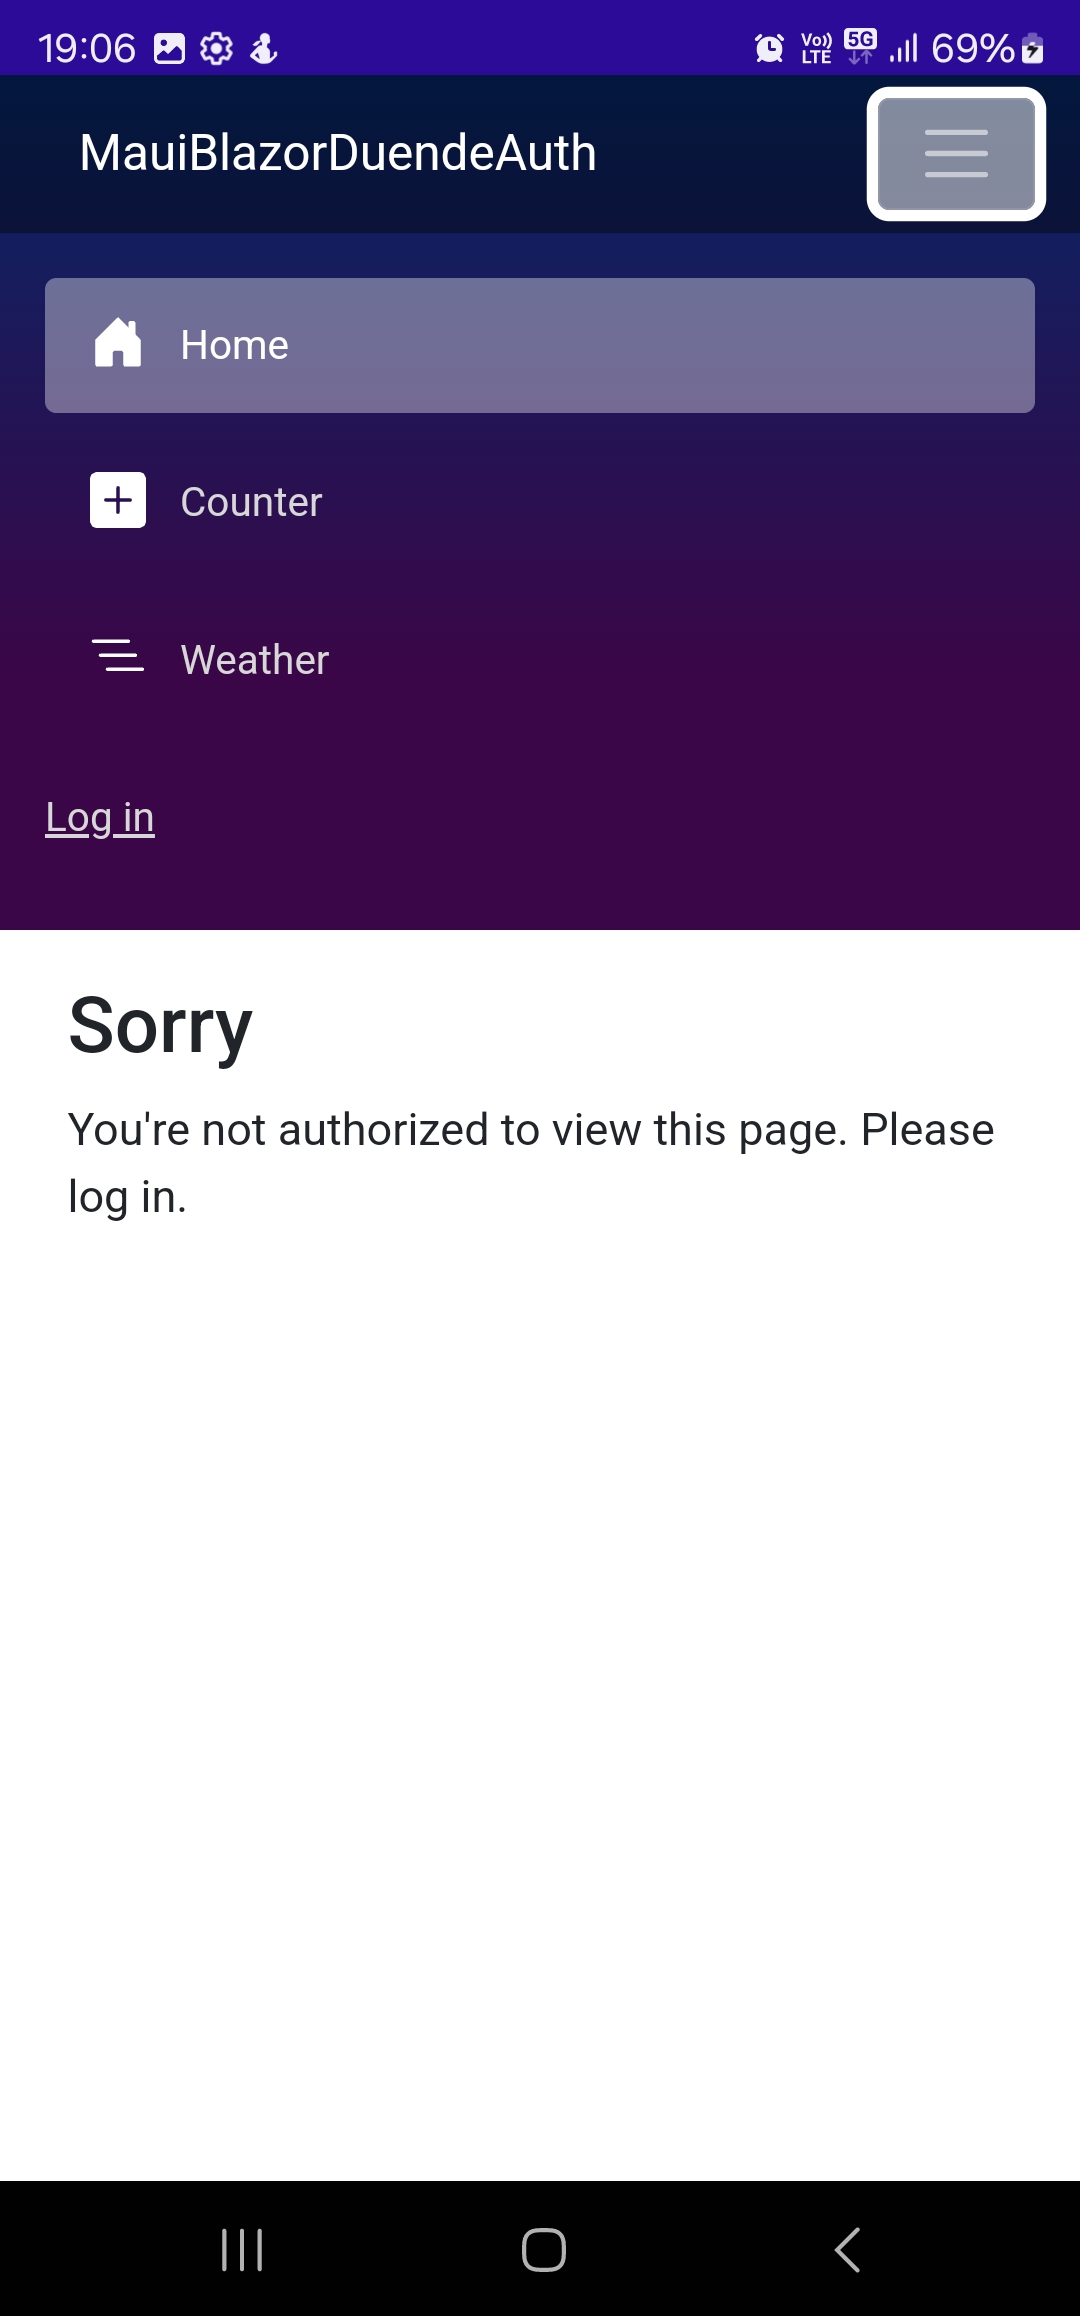
.NET MAUI landing page unauthorized
If we try to see weather data (click on Weather in dropdown menu) we will not be able to see data until we are authorized. To authorize we can click on Log in button in dropdown menu. While it is redirecting us to the Duende IdentityServer Login page the text "Determining session state.." will be displayed.
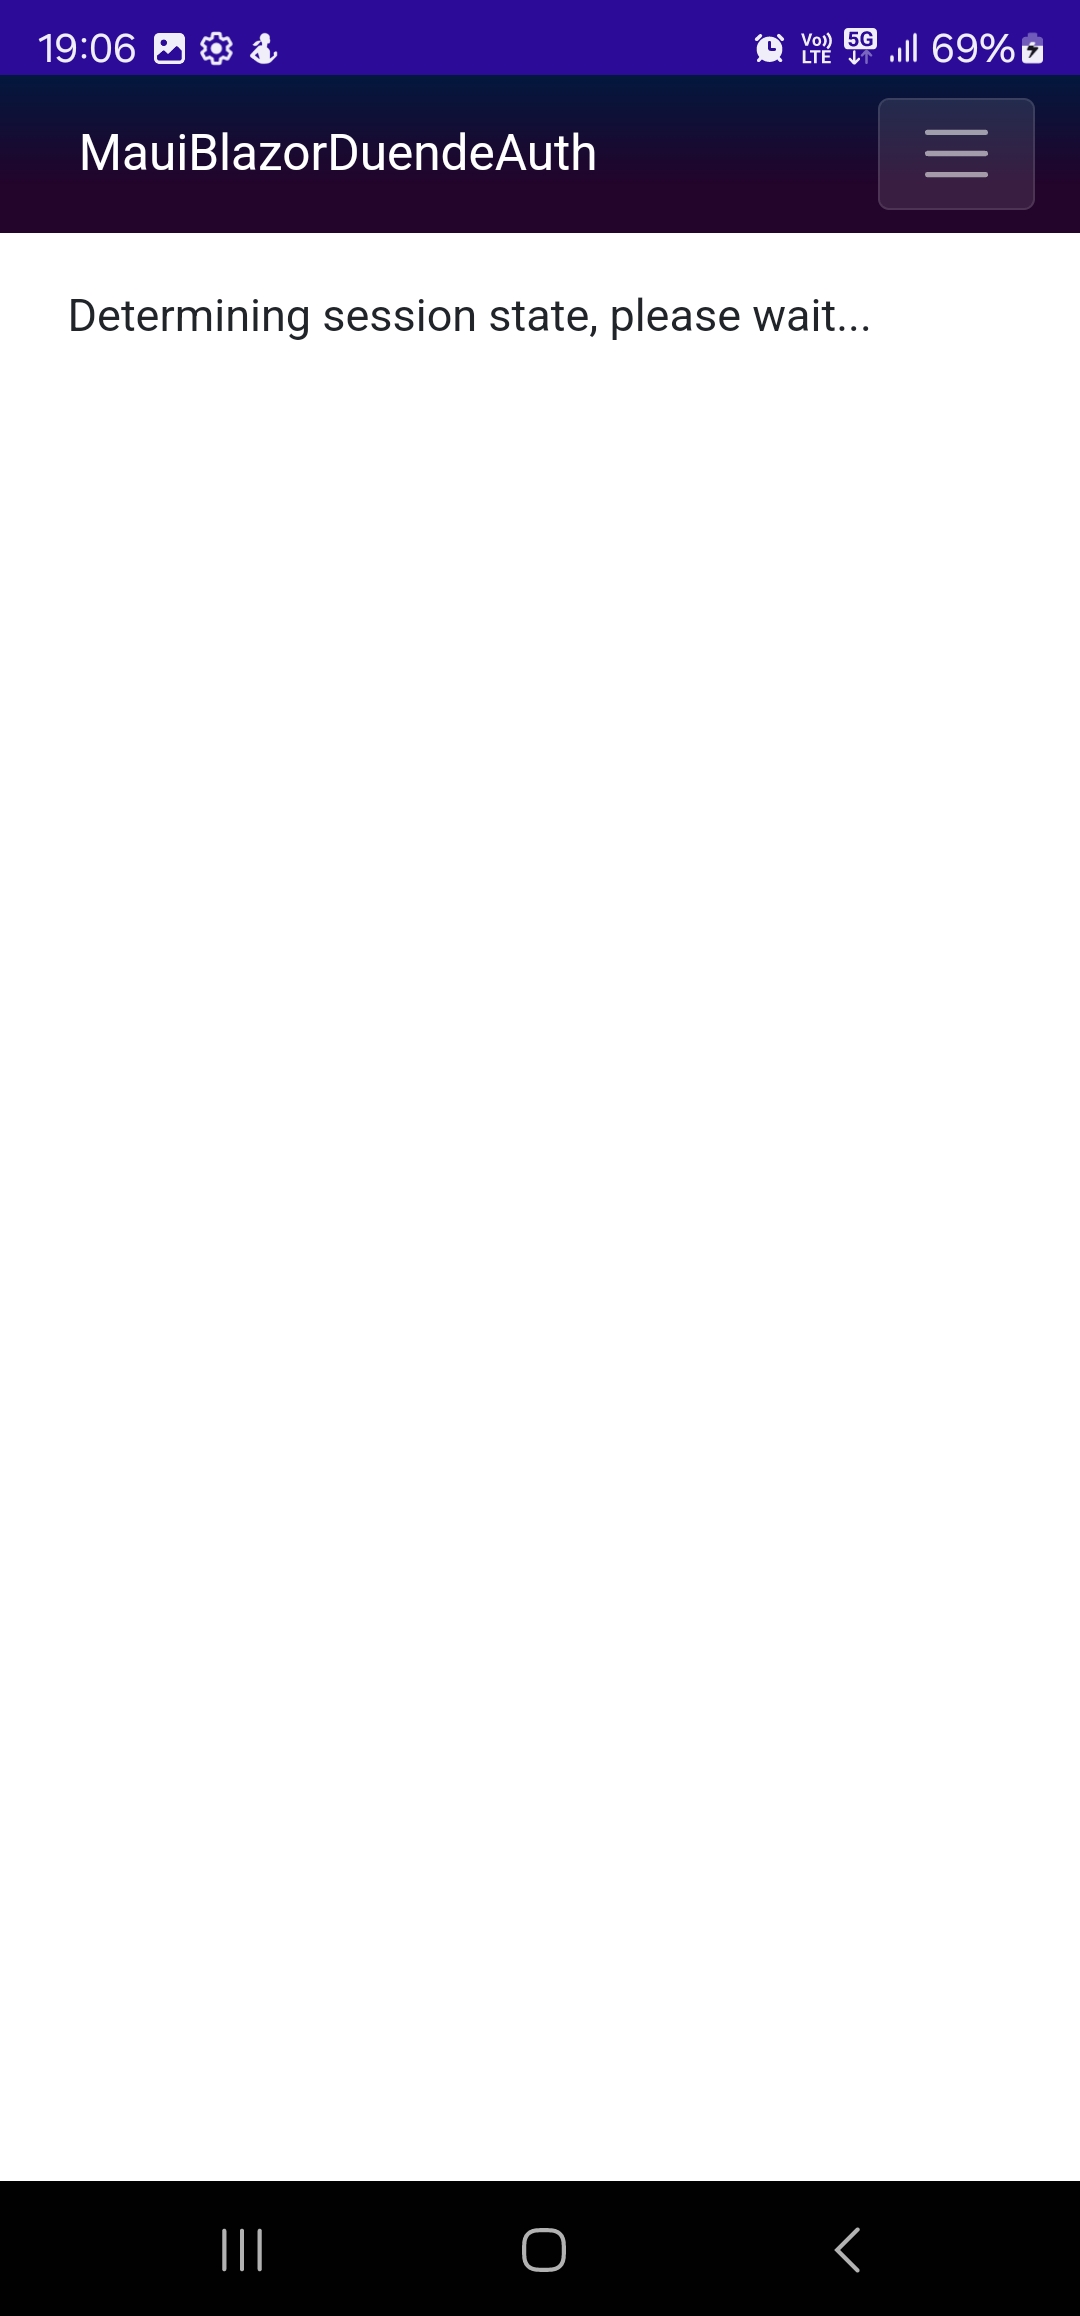
.NET MAUI redirecting to Duende IdentityServer
The Duende IdentityServer Login page is opened in browser and we can log in with our credentials, if our credentials are correct we will be redirected back to our mobile application.
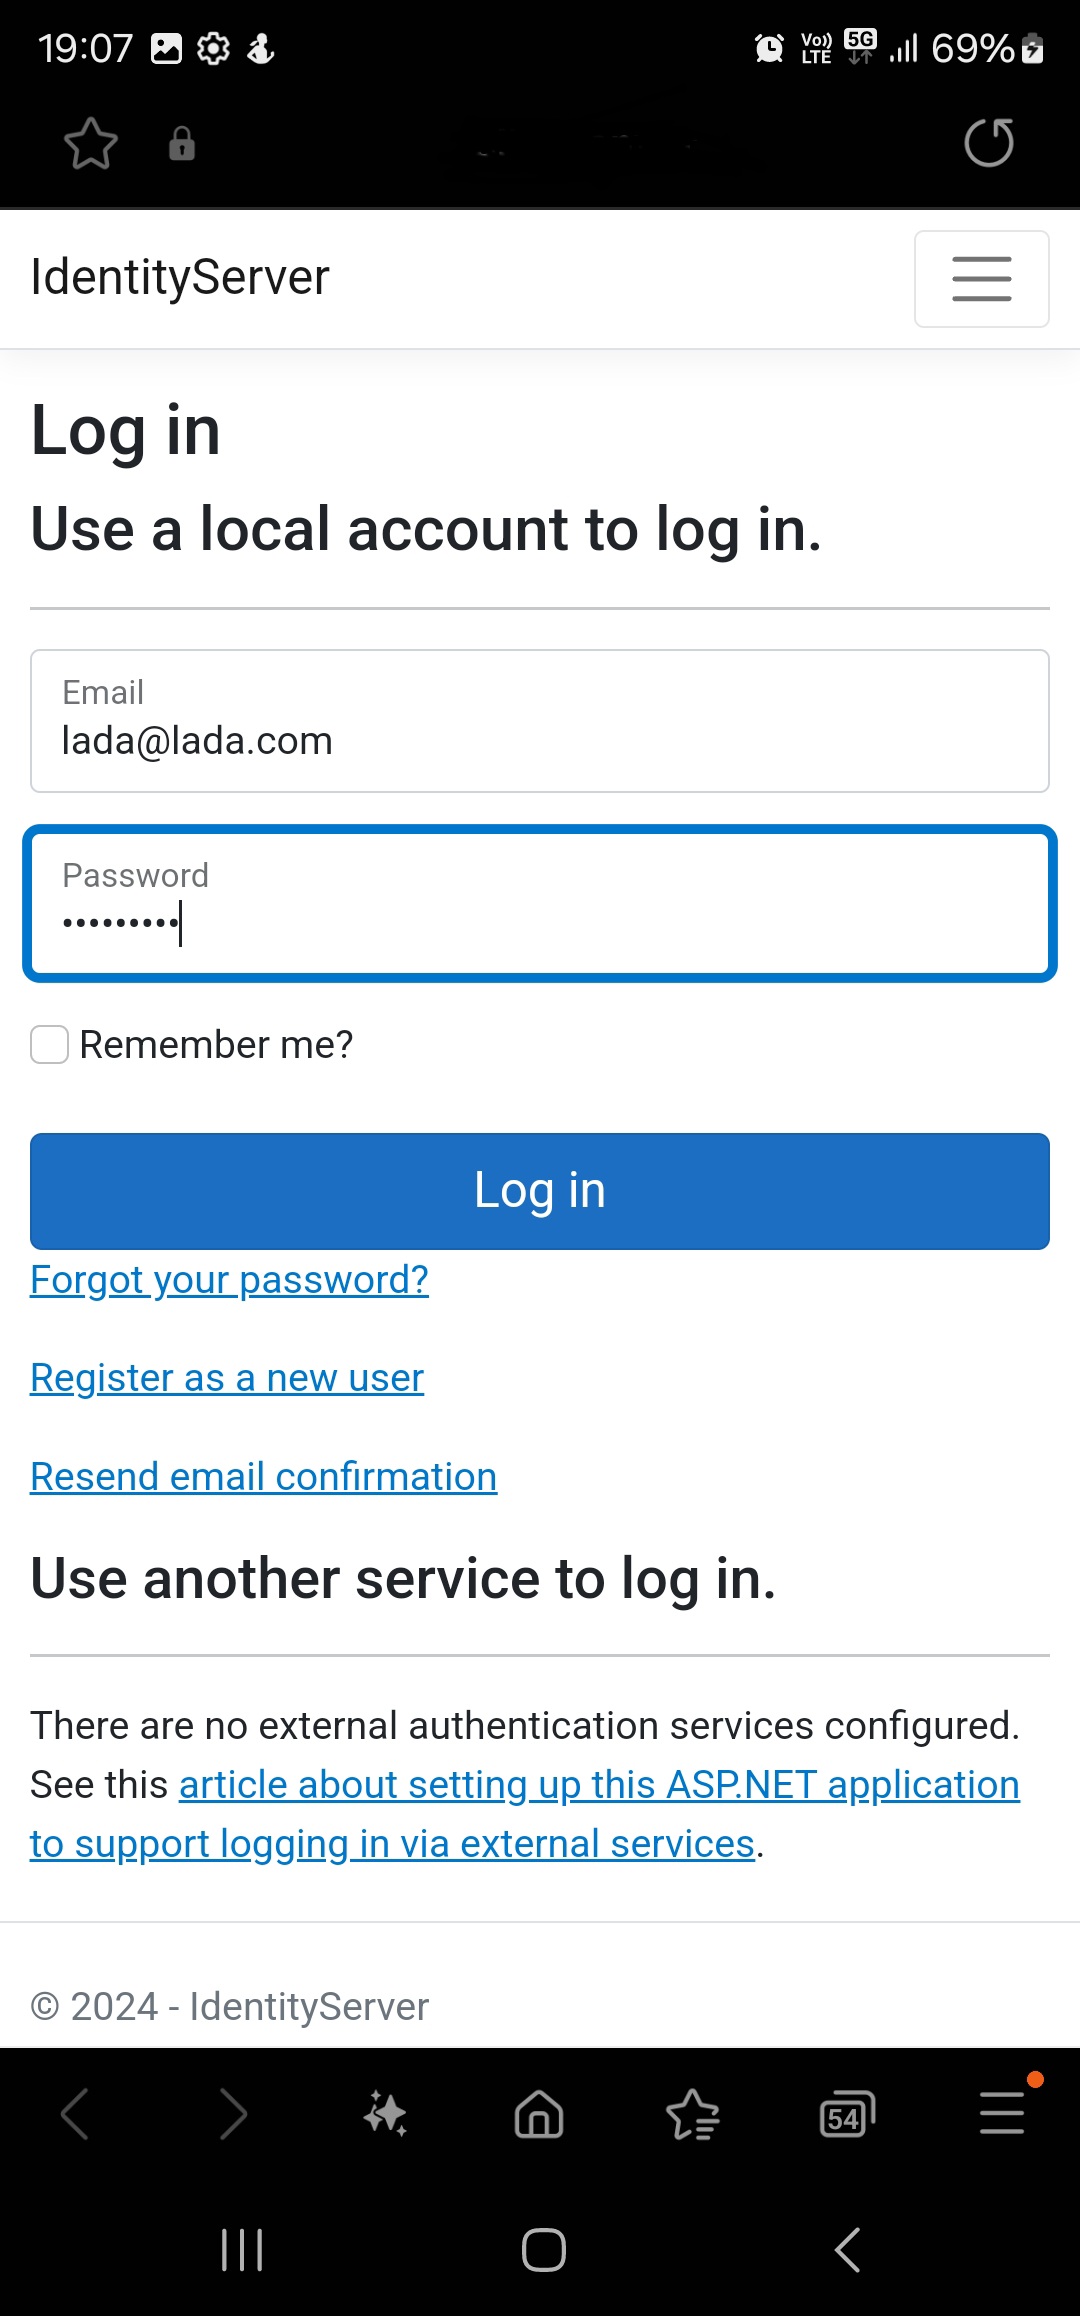
Log in Duende IdentityServer
When we are redirected back we can see our username displayed on the MAUI landing page.
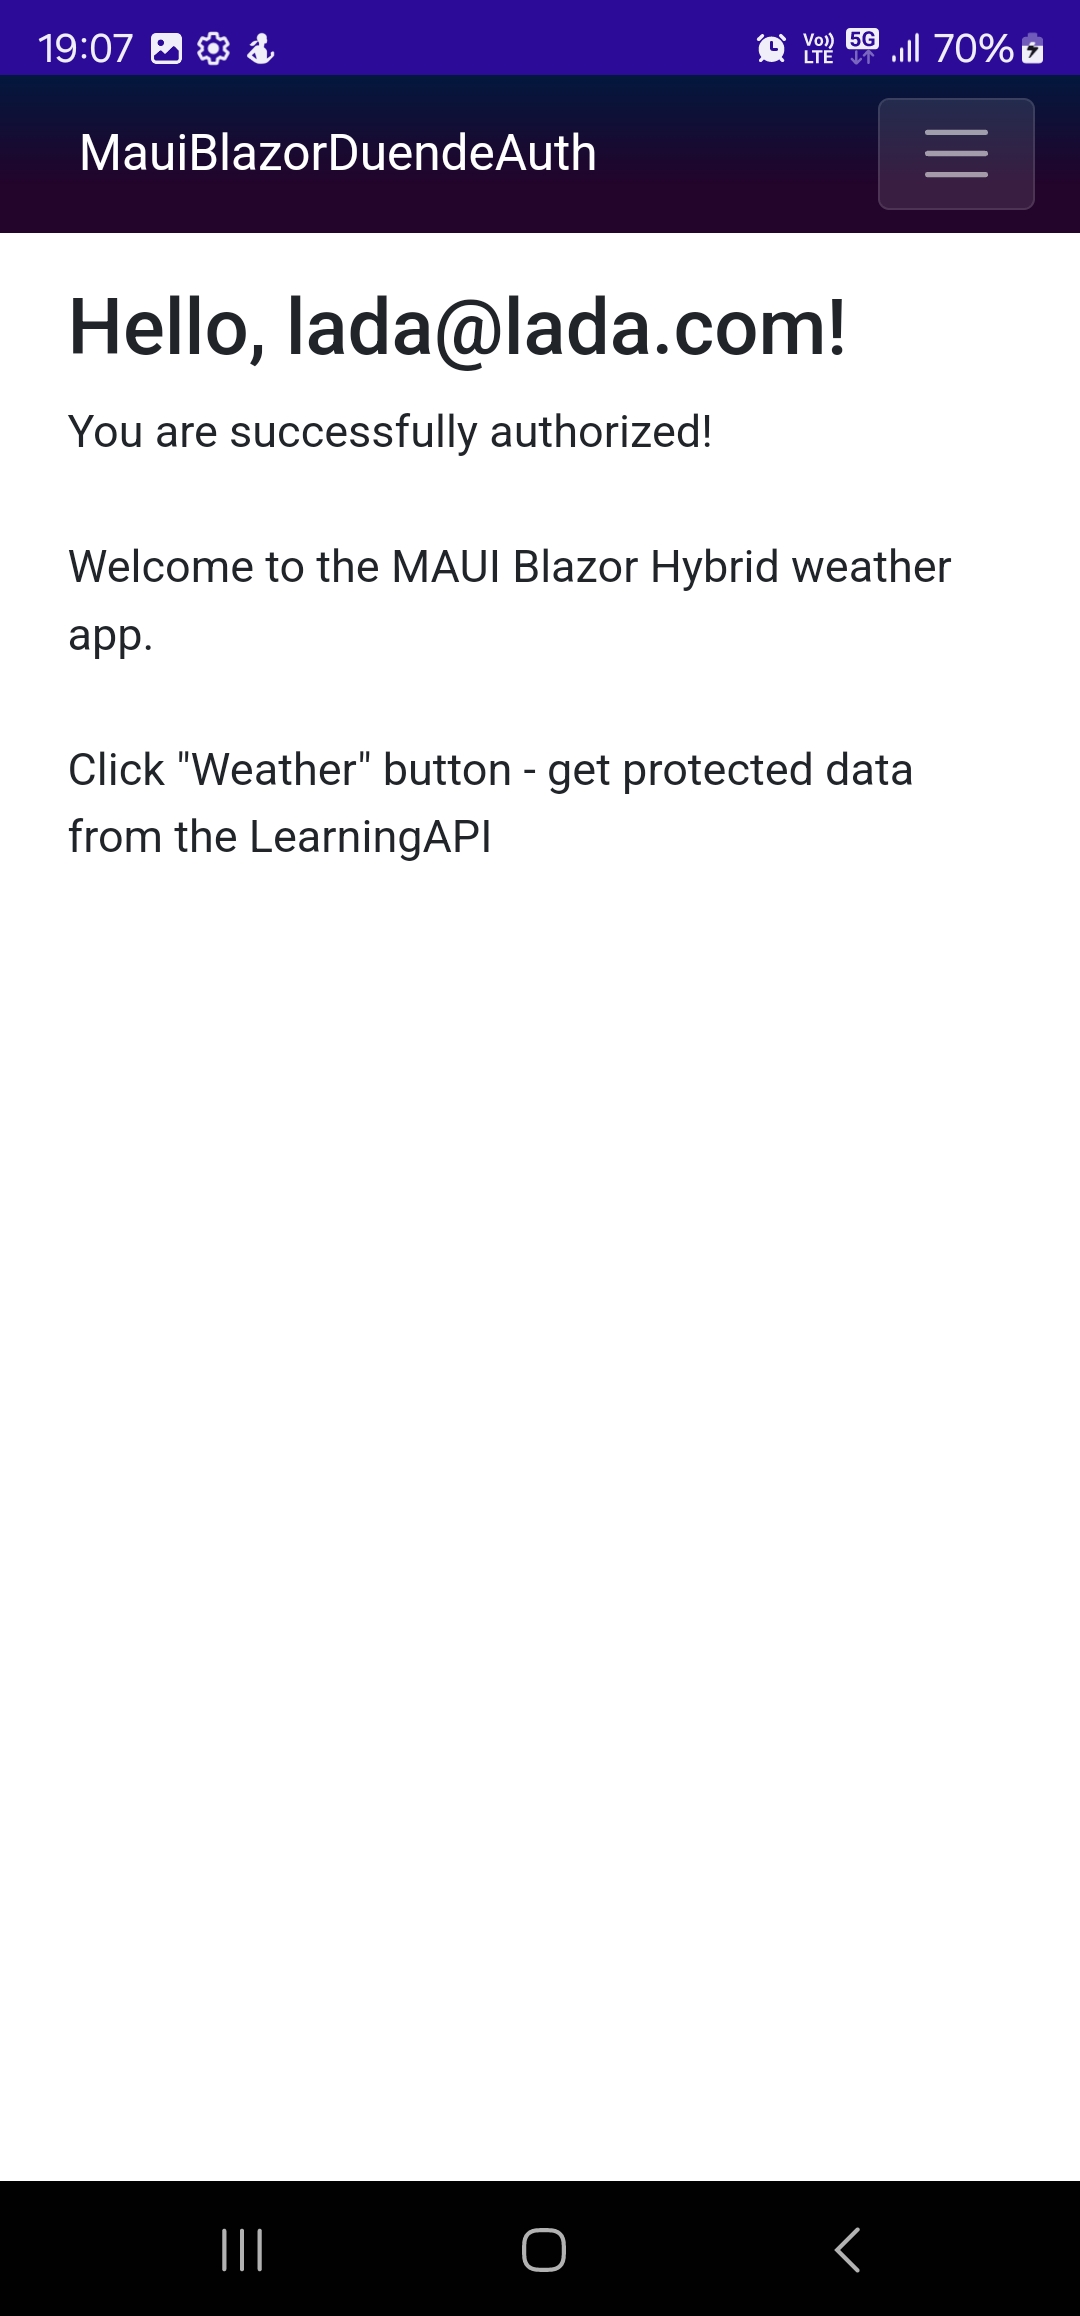
.NET MAUI landing page authorized
Now we can try to get protected weather data from our LearningAPI, click the Weather button in dropdown menu. While our API is being called the page will display "Loading weather.." text, and when data is ready it will display table with weather data.
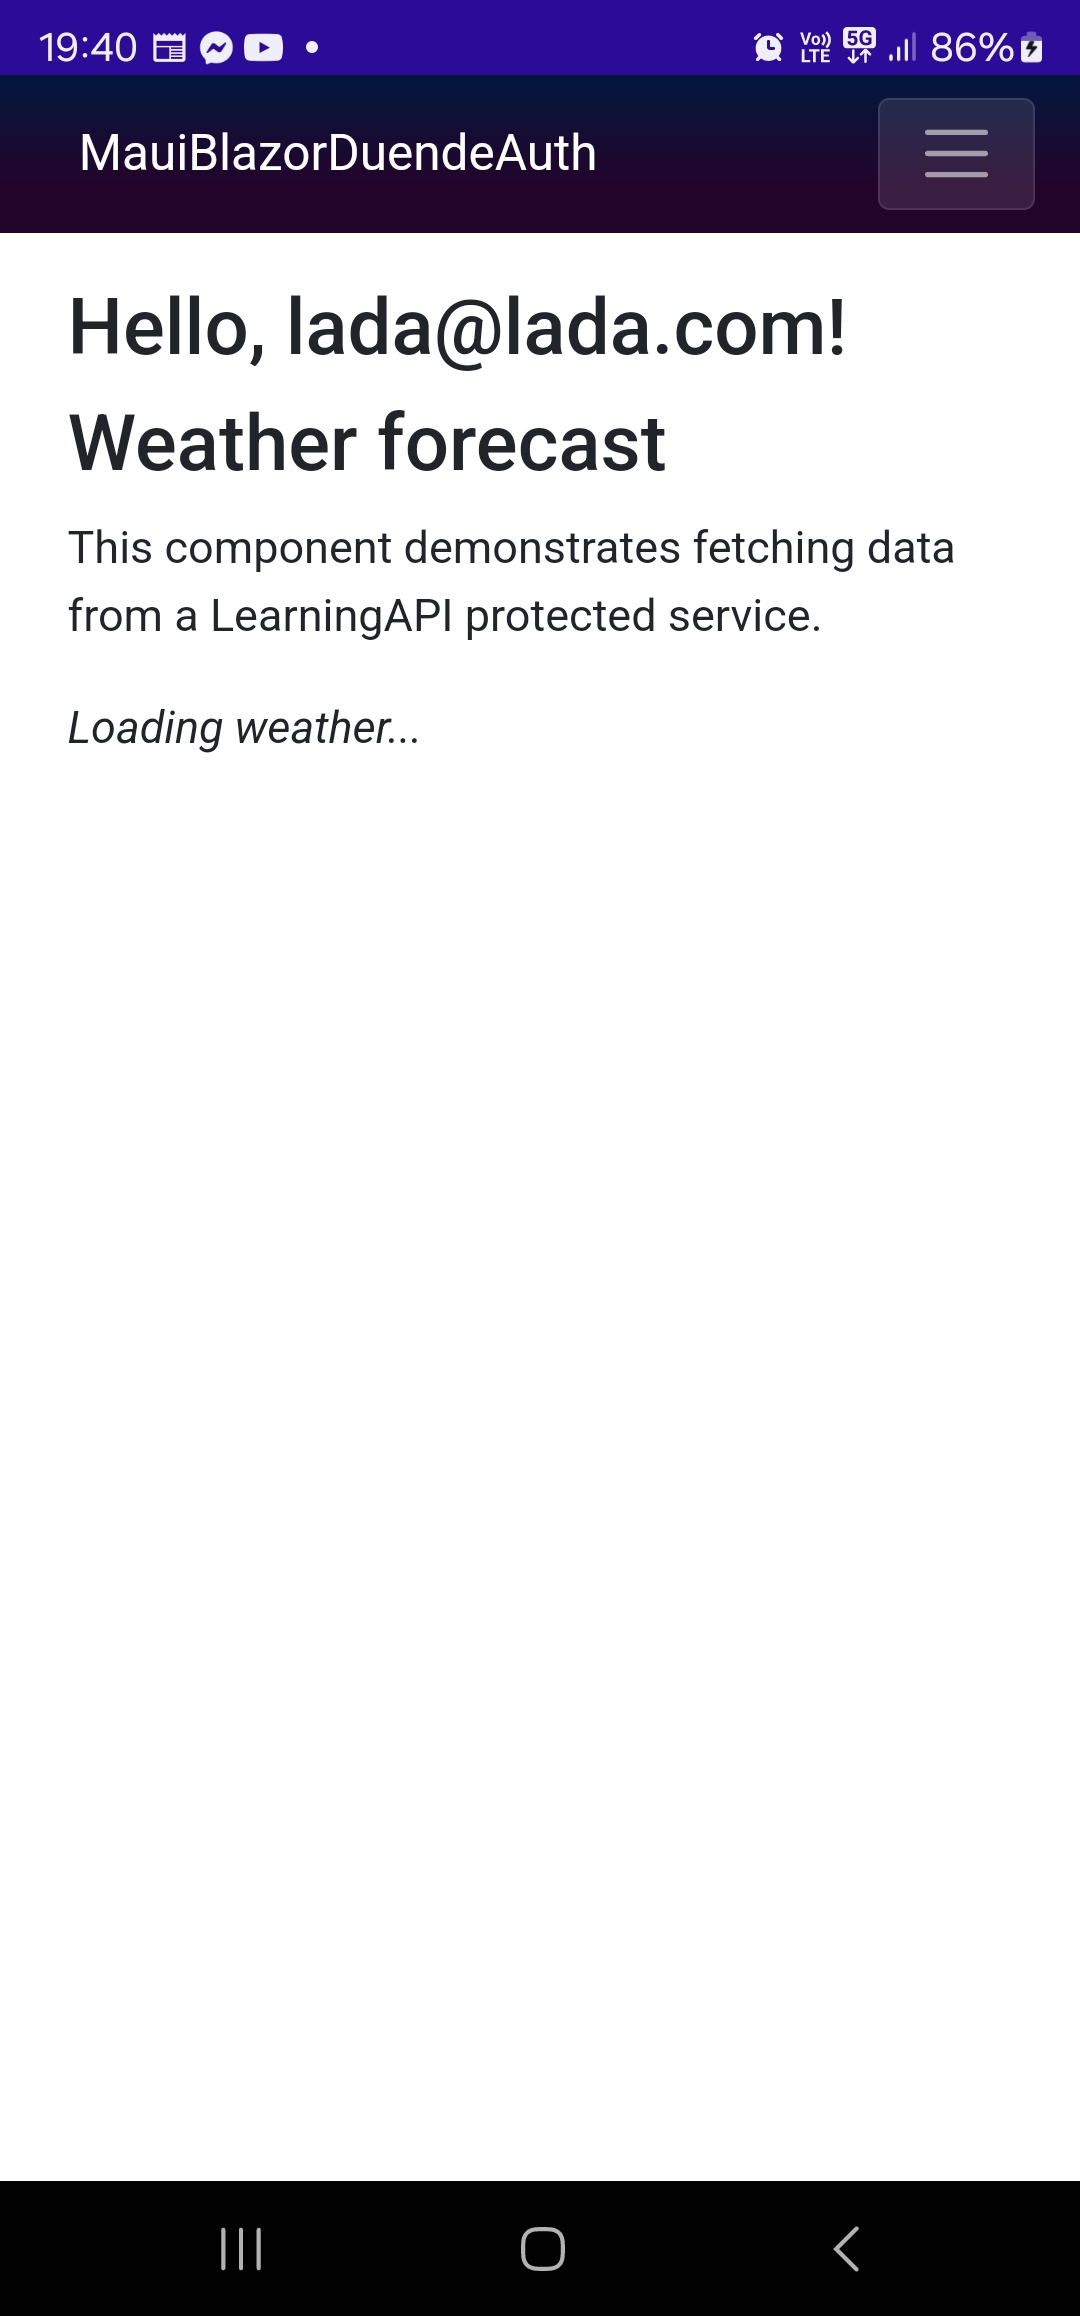
Calling weather protected API
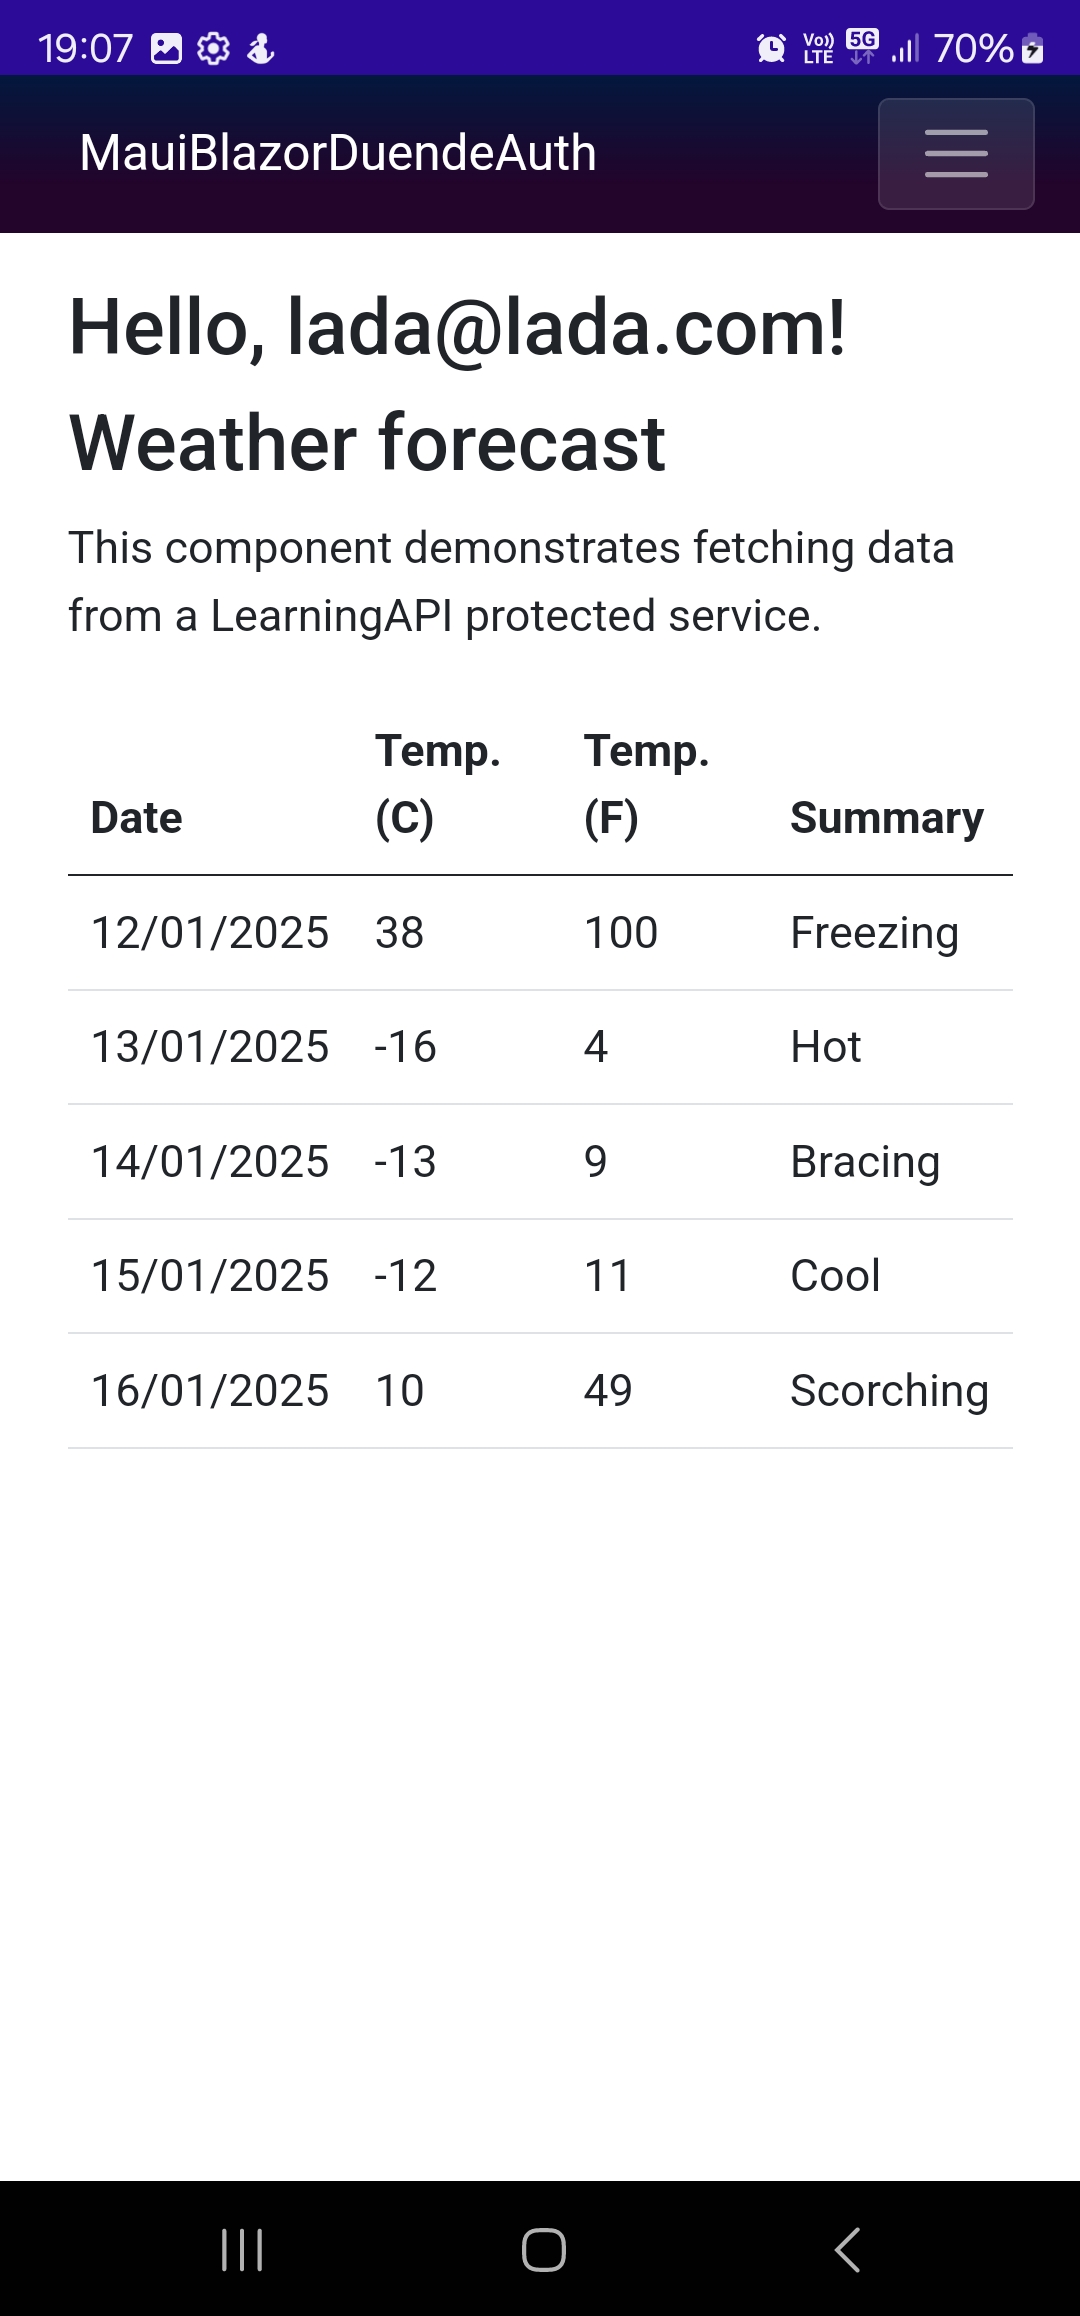
Calling weather protected API